
A Look At – Building The LX004-OO Garden Fencing Kit (Part Two)
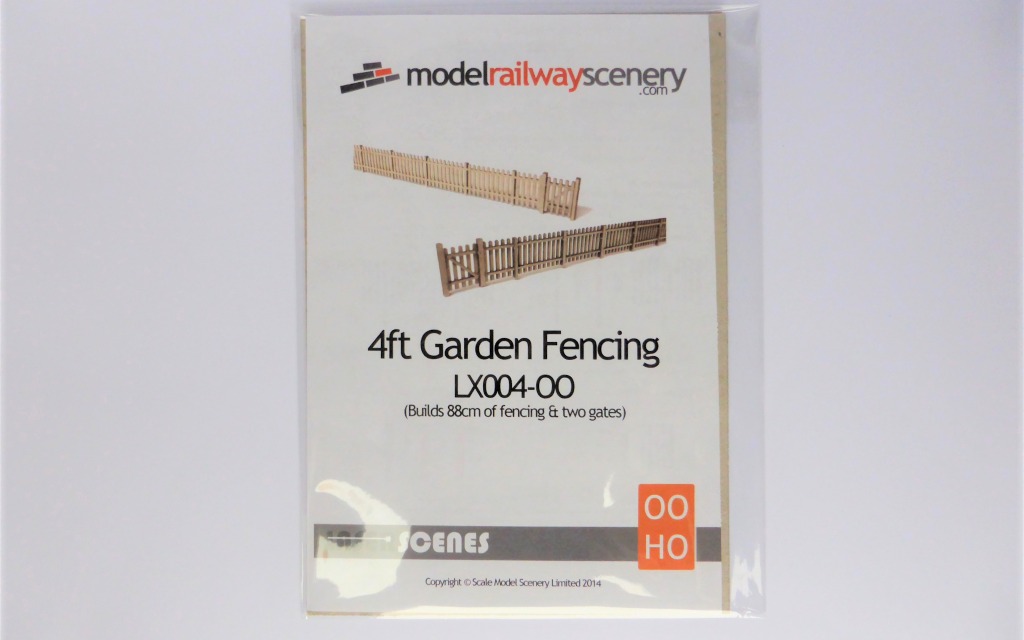
Garden Fencing Kit – OO / 1:76 Scale (PART TWO)
In this the second part of this article we continue our look at the LX004-OO Garden Fence Kit by Scalemodelscenery.co.uk. So to recap: This kit is a 4ft scale fence & also includes two small garden gates. An ideal kit for an evenings modelling session. The fence makes up into five sections which when joined together makes up a total length of 88cm.
The posts are taller than the fence which allows for fitting into pre-drilled holes in your baseboard. Glue the post ends with Deluxe Materials Roket Card glue & insert into the pre-drilled holes. If you need a longer fence use additional LX004-OO kits to extend the fence.
We’ll now look at joining the fence sections up to form a longer fence as well as installing on the layout.
Tools required
- Craft Knife
- Deluxe Materials Roket Card Glue or P.V.A glue
- Cutting Matt
- Sanding Stick
- Optional – Acrylic paints
- Drill & suitable size drill bit for the fence post holes.
Lets get started…
Start by applying a bead of Roket Card glue as shown right on the end of the fence section.

Place one of the rail posts on to the bead of glue as shown right. The over hang of the rail post will go on the next fence panel.

Next repeat by adding another bead of Roket Card glue & post rail to the fence as shown on the right.

Apply a bead of Roket Card glue along the fence edge as shown on the right.

Now apply a bead of Roket Card glue along the rail posts as shown on the right.

Place the glued fence on to the next section of fence panel as shown on the right. Make sure the ends butt up square, true & flush. Wipe a way any excess glue.
Then place to one side whilst the glue sets.

Adding The Gate
To add the garden gate either cut the fence panel for where you want to install it, or fit on the end of a fence panel section. Here we’re going to install the gate on the fence panel end.
So as before apply a bead of Roket Card glue along the end of the fence as shown on the right.

Butt up the fence to the gate post as shown on the right. Make sure that the top of the gate is level with the top of the fence.

Cut the two rail posts to fit the gap between the gatepost & fence post.

Place the two cut railposts to one side.

Apply two beads of Roket Card glue as shown on the right.

Place the two cut down railposts on to the glued sections as shown on the right. Make sure they are level & sqaure.
Now repeat the above with the fence section on the opposite side of the gate.

Installing the fence.
Workout where you want your fence on the layout.
Mark out the position of the first post hole.

Using a suitable sized drill bit for the fence post holes, drill the first post hole.

Repeat the marking out & drilling the rest of the post holes.

Measure & mark out the position of the next post hole.
Then drill the second post hole.

Apply some glue into each post hole & carefully insert fence posts into the hole. Make sure you keep the fence straight & level whilst the glue sets.

Once the glue has set add garden scenics to complete your garden scene.
Happy modelling.


Recent Comments